Creating custom menus is actually easy to understand. This demo uses Twenty Sixteen WordPress default theme, to show you all the steps by steps you need are your own custom menus.
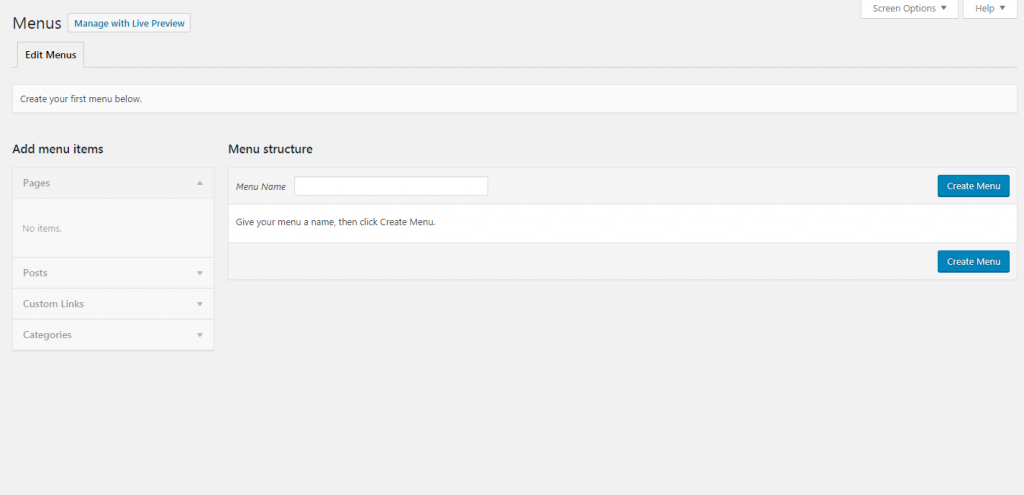
You are Go to the WordPress dashboard, Are you click on Appearance and then on Menus. In the first step you need to create a menu a name (Ex: Main Menu, Top Menu, etc), and then after clicking the “Create Menu” button.
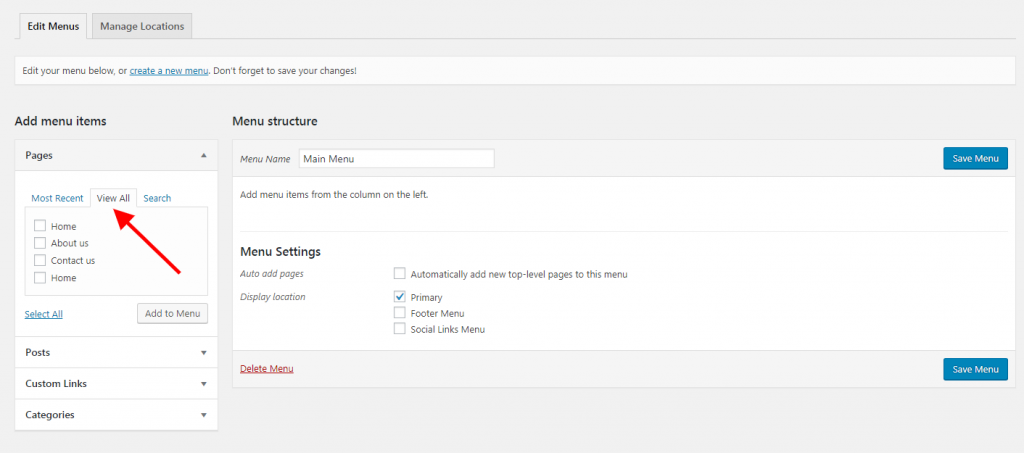
After you are creating it, you may start adding your menu items (EX: Home, About us and etc). All your website’s pages, categories, and posts are gathered in the menu left column, and from there, you can simply add them to your custom menus in just a few clicks.
First of all, you need to click on Pages and View All. Select all the pages that you want to appear in your menu (use the checkboxes next to the pages’ names).
Then after selecting any one menu item, you might want to switch their any order. All you have to do is drag and drop them in the desired location. This is how you’re going to organize your custom menus.
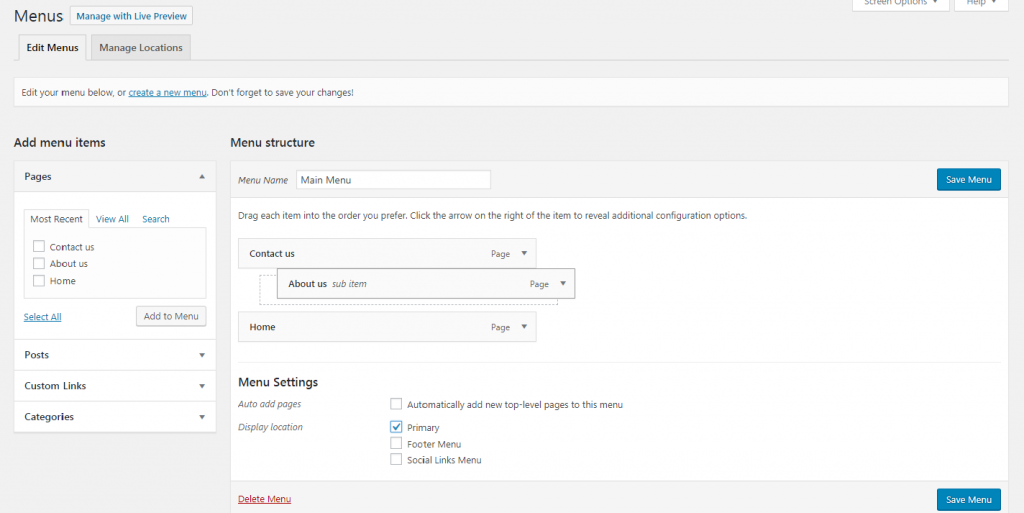
Then after from standard menus, you can also create Sub Menus. Simply drag a menu item to the right of another menu item. you see Like so:

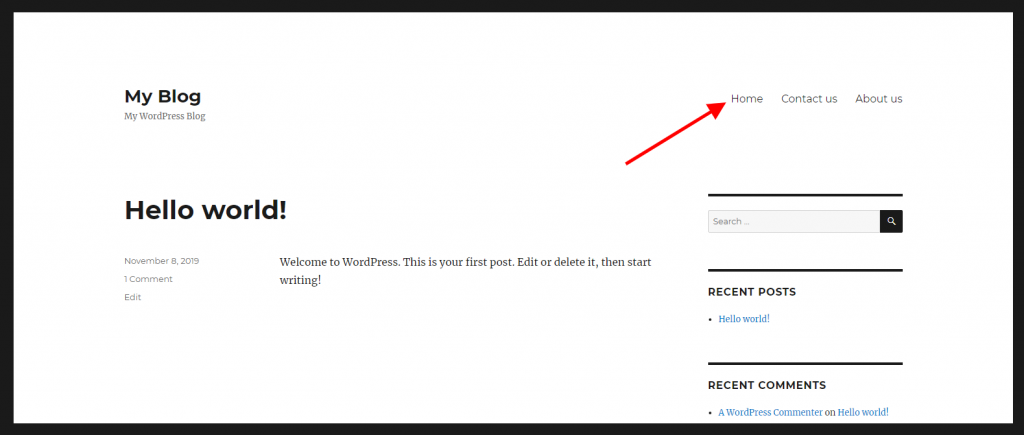
After the last step is to show the front page menu.